|
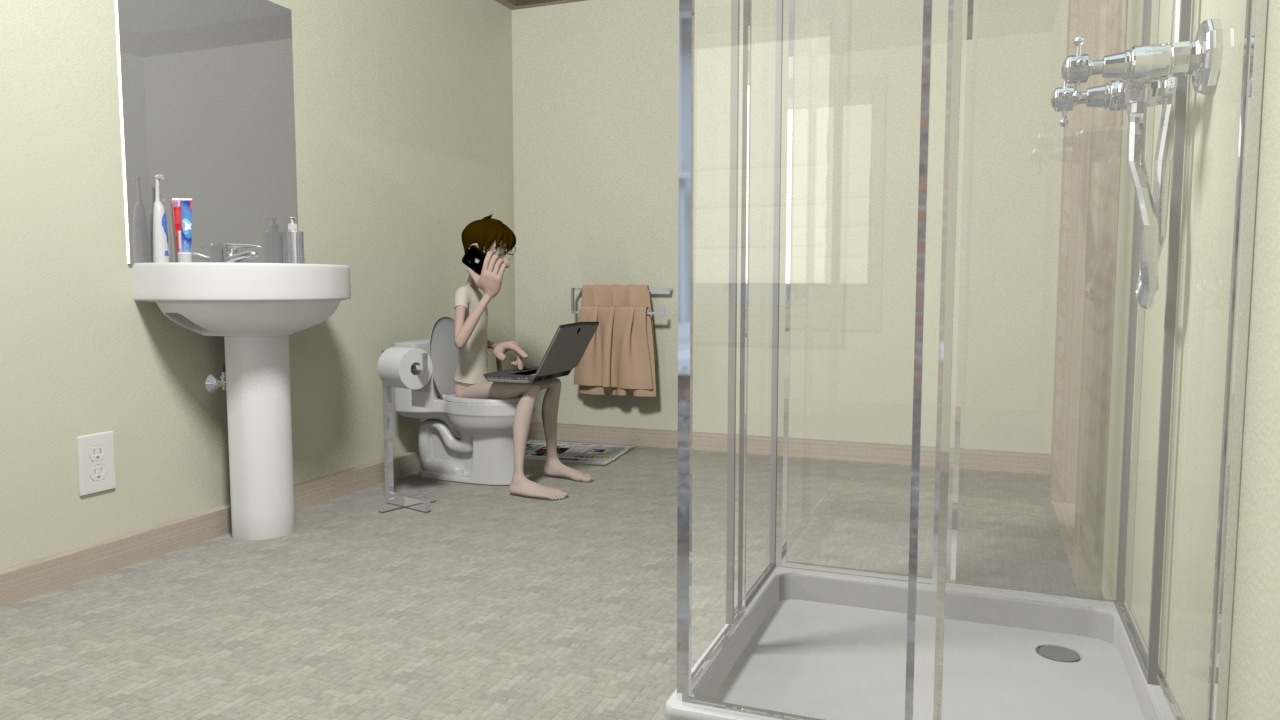
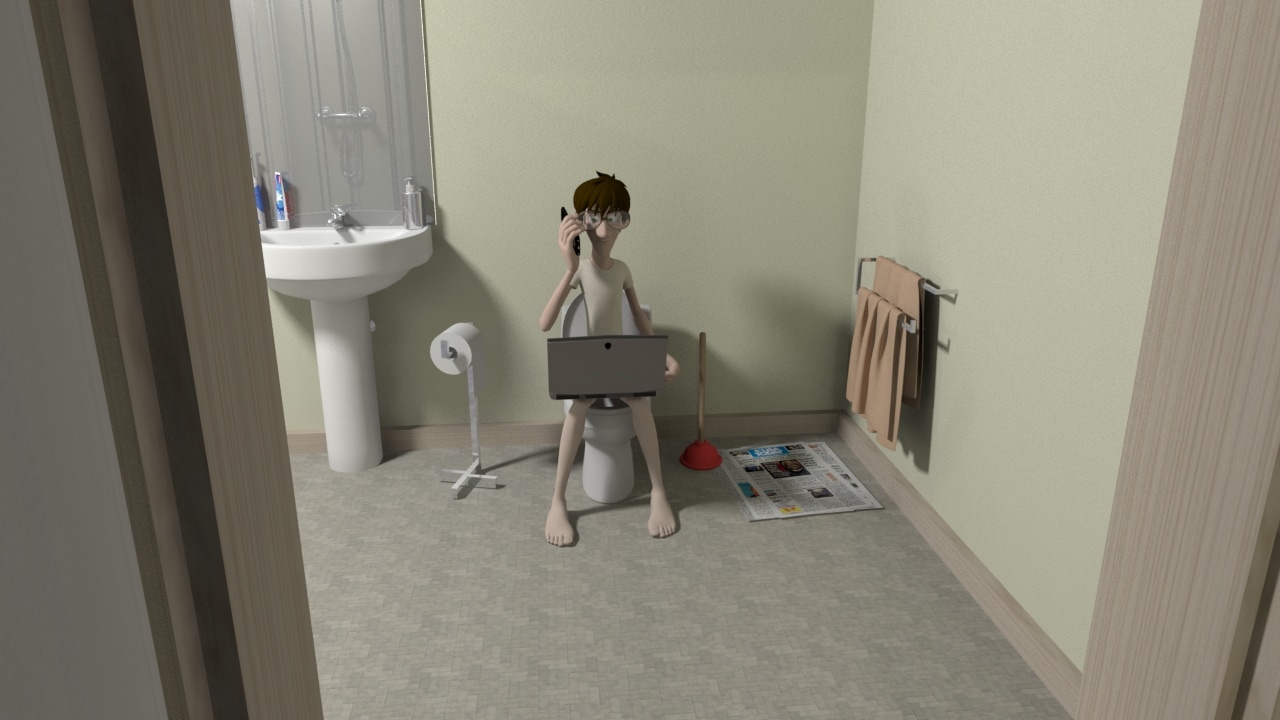
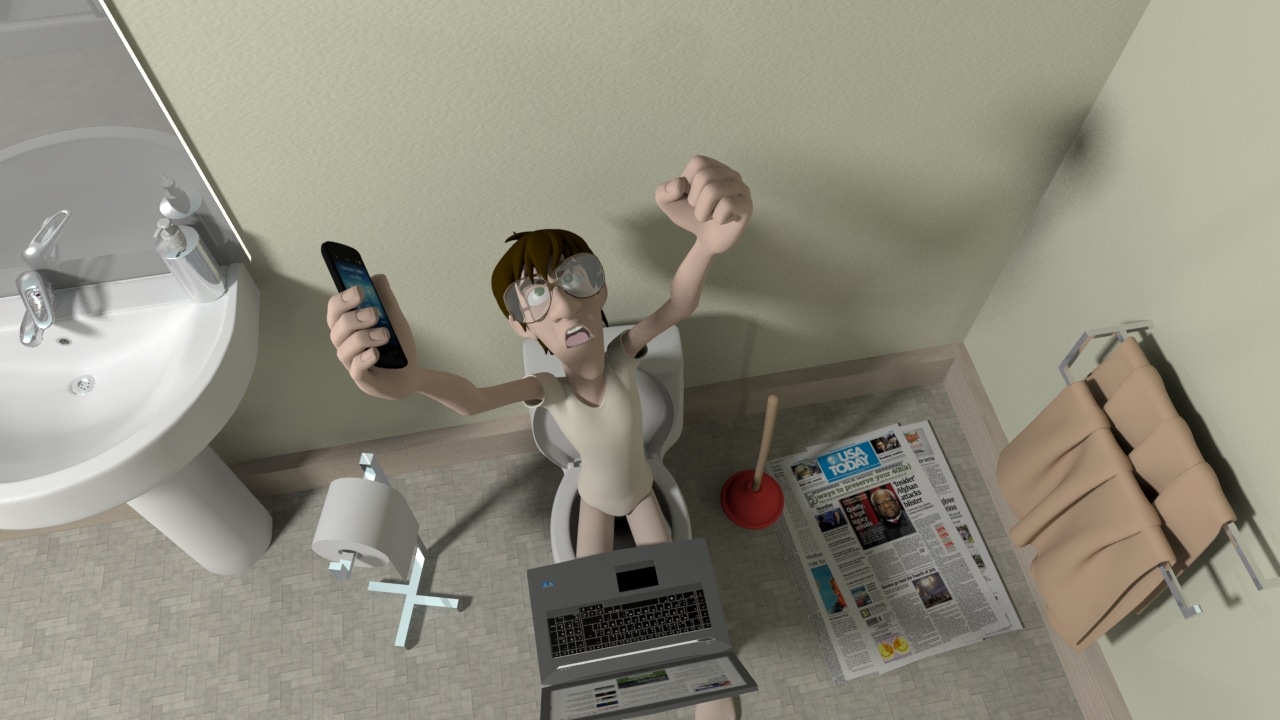
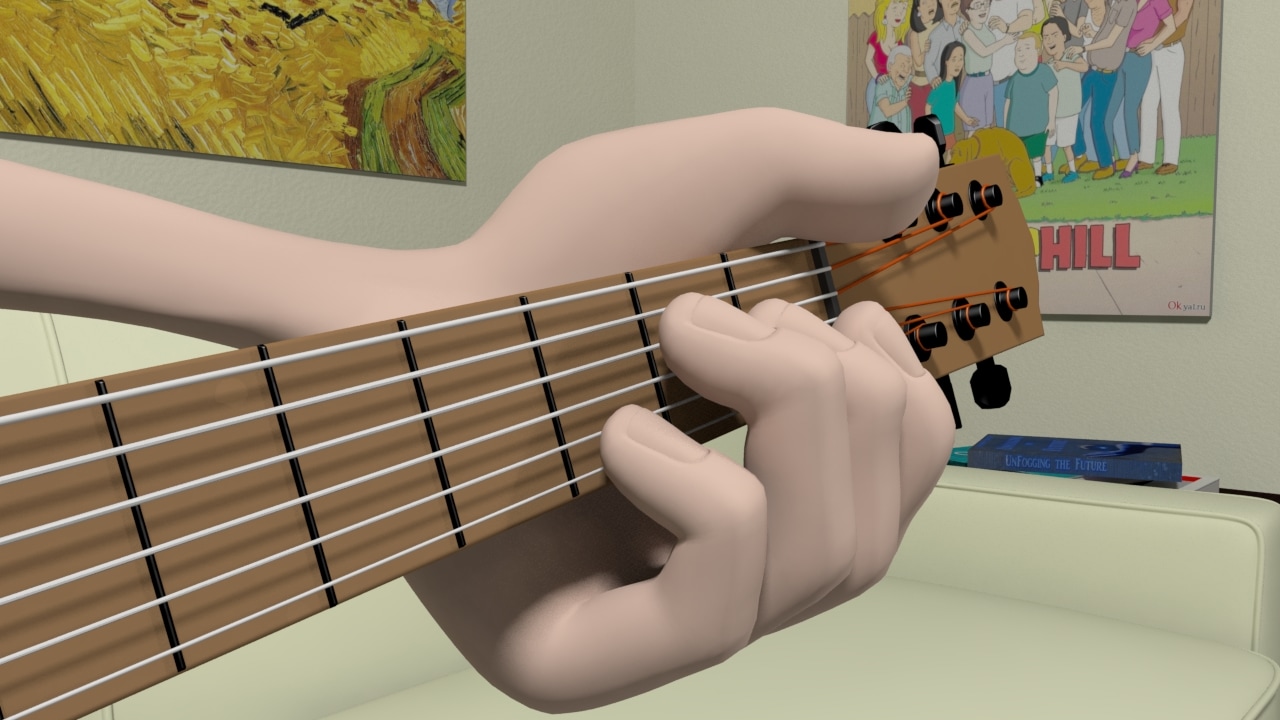
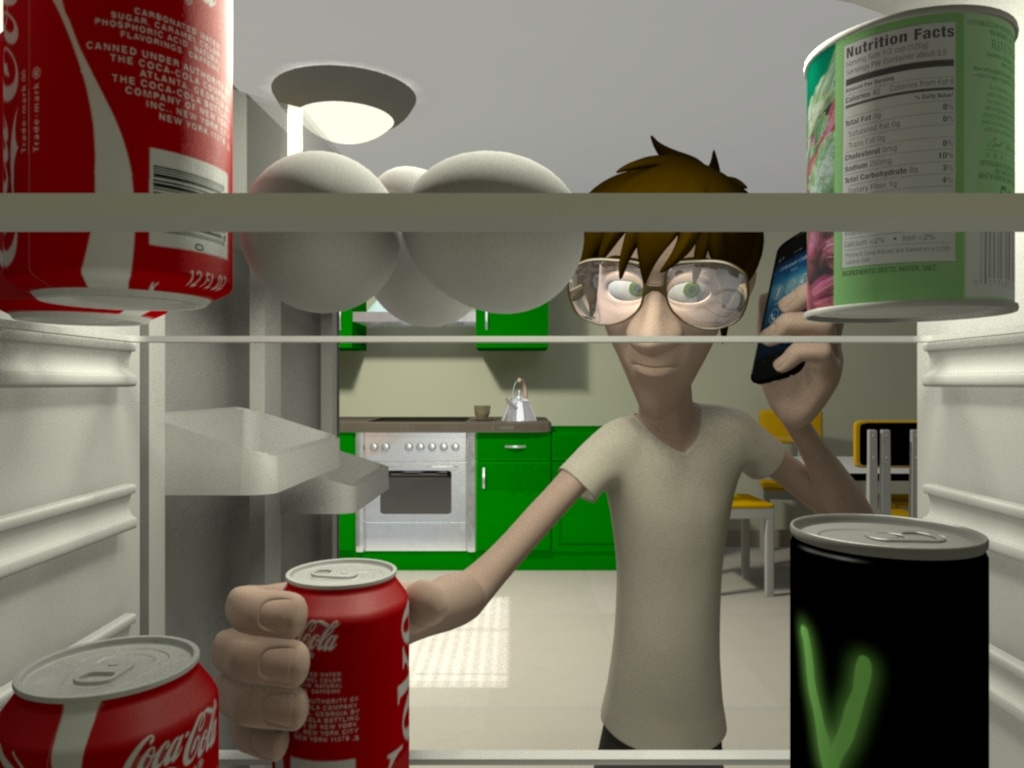
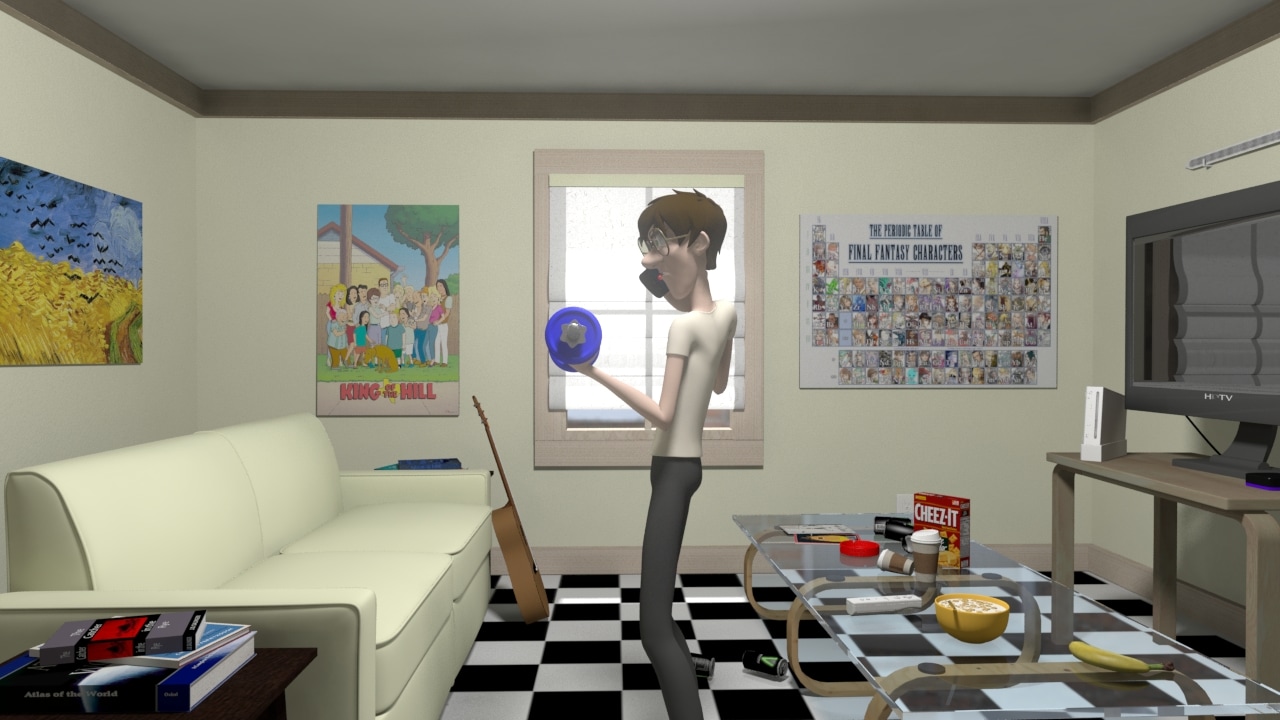
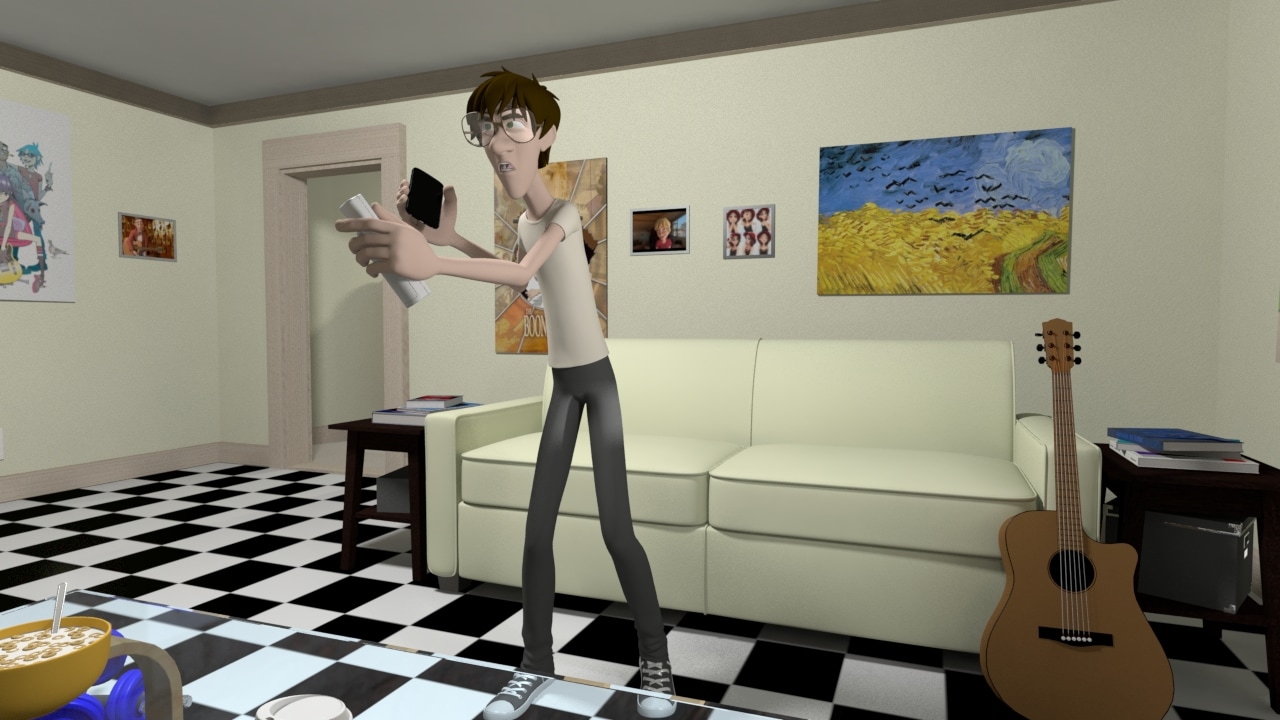
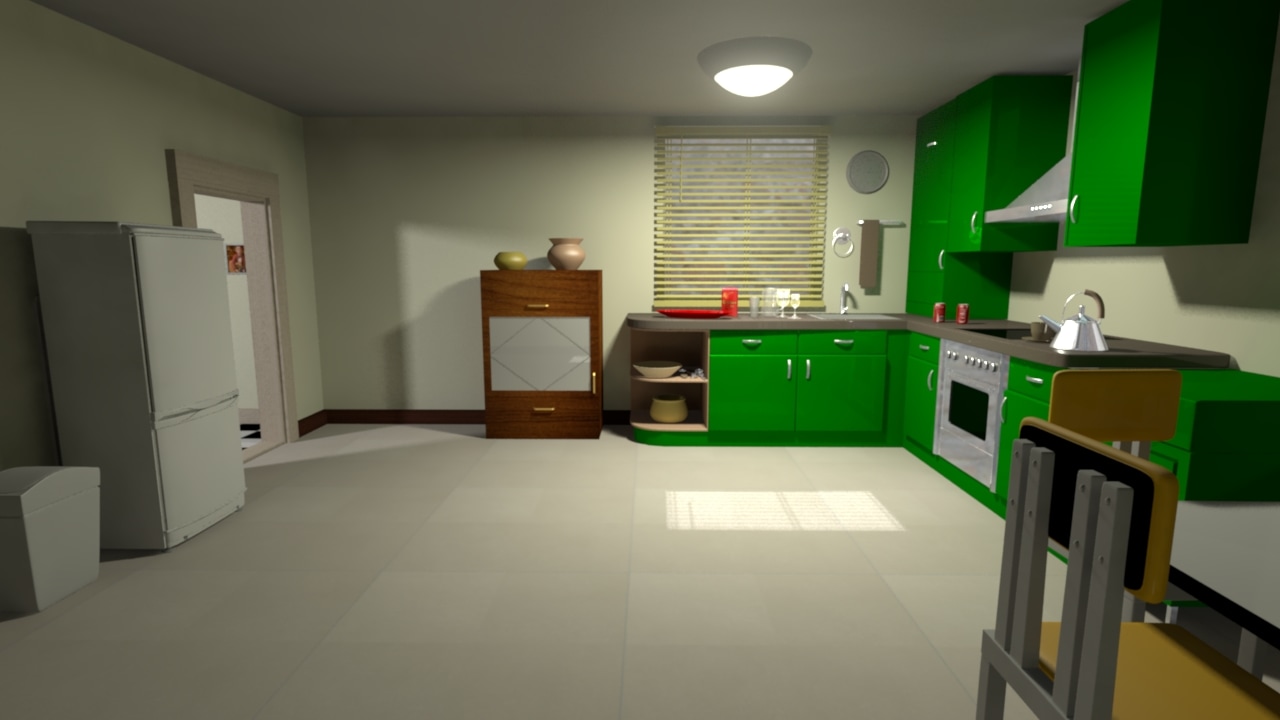
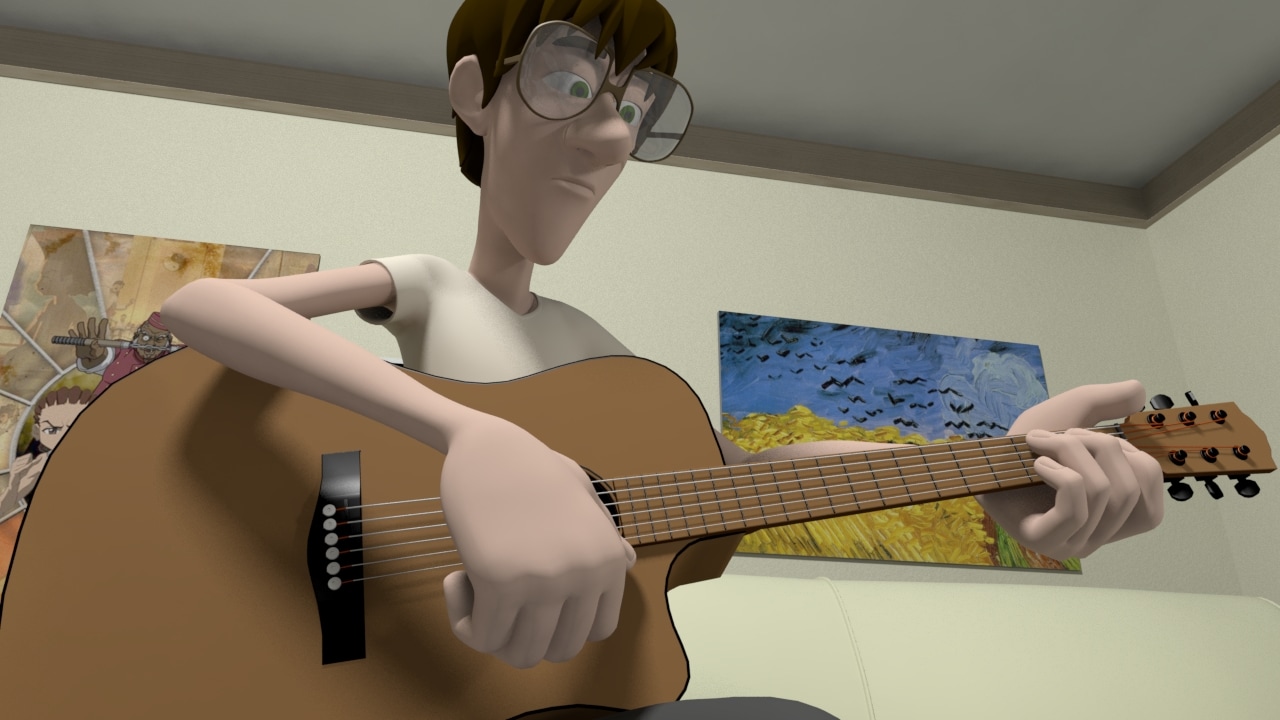
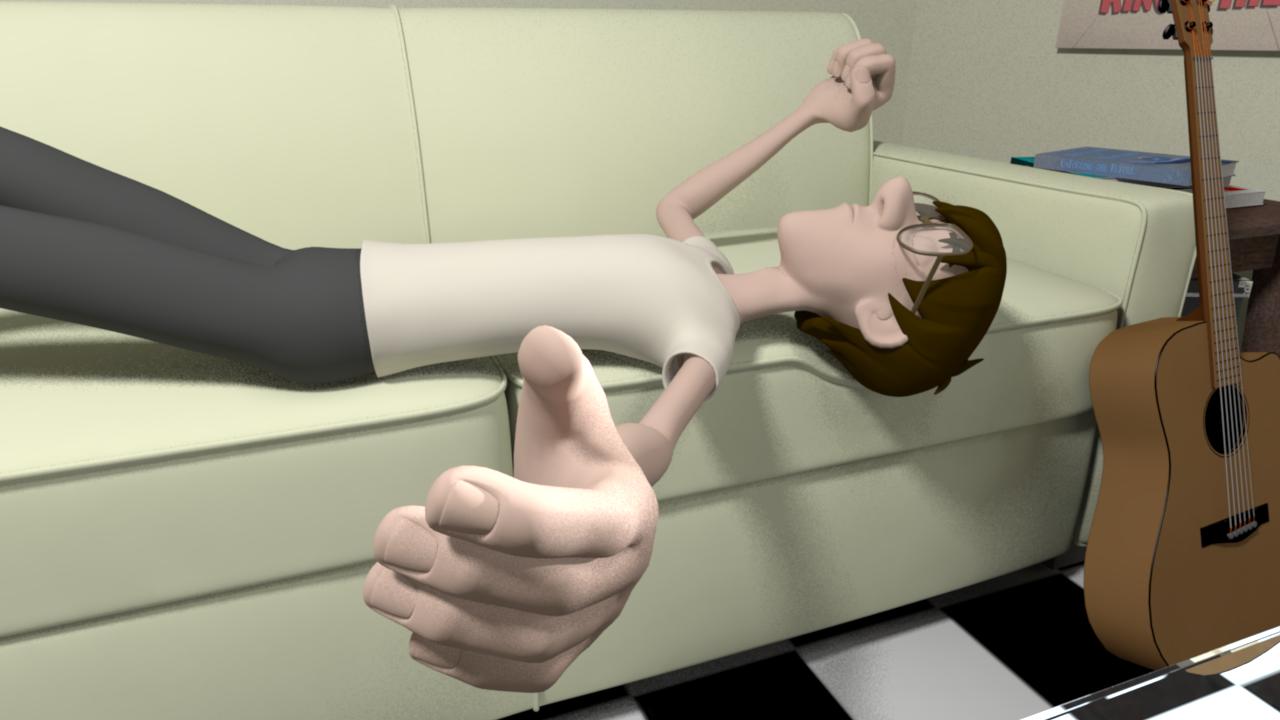
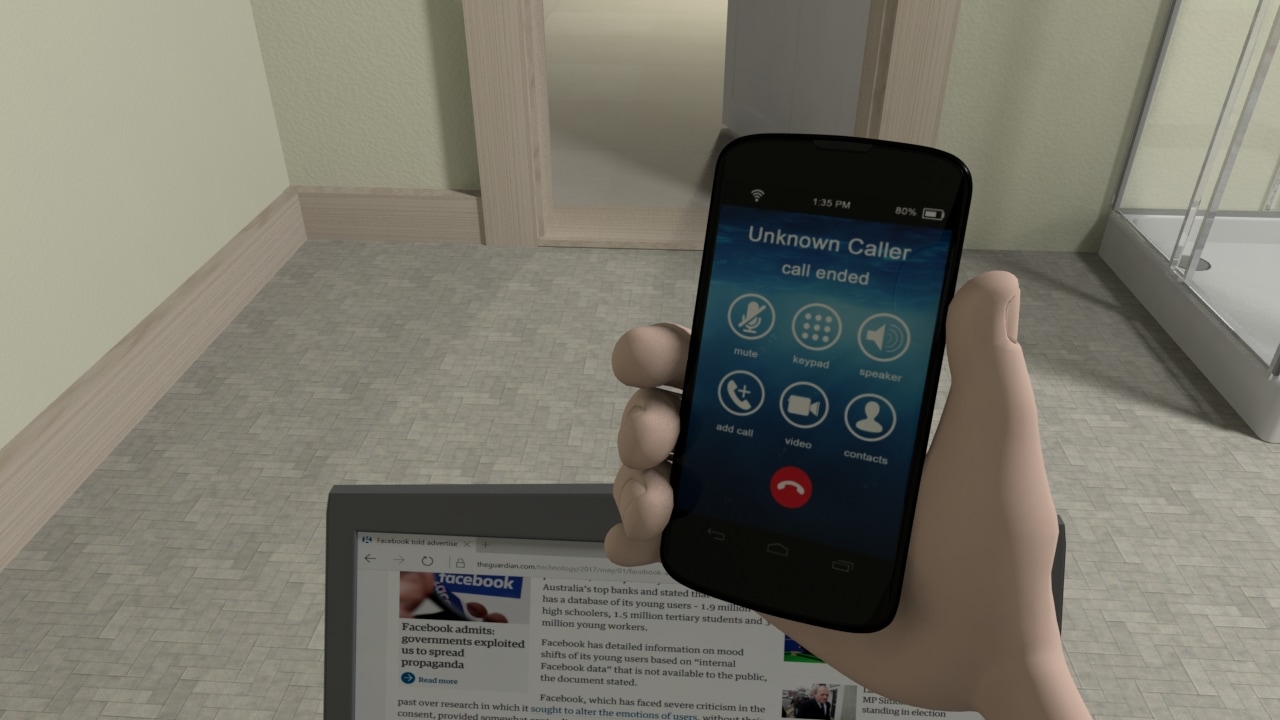
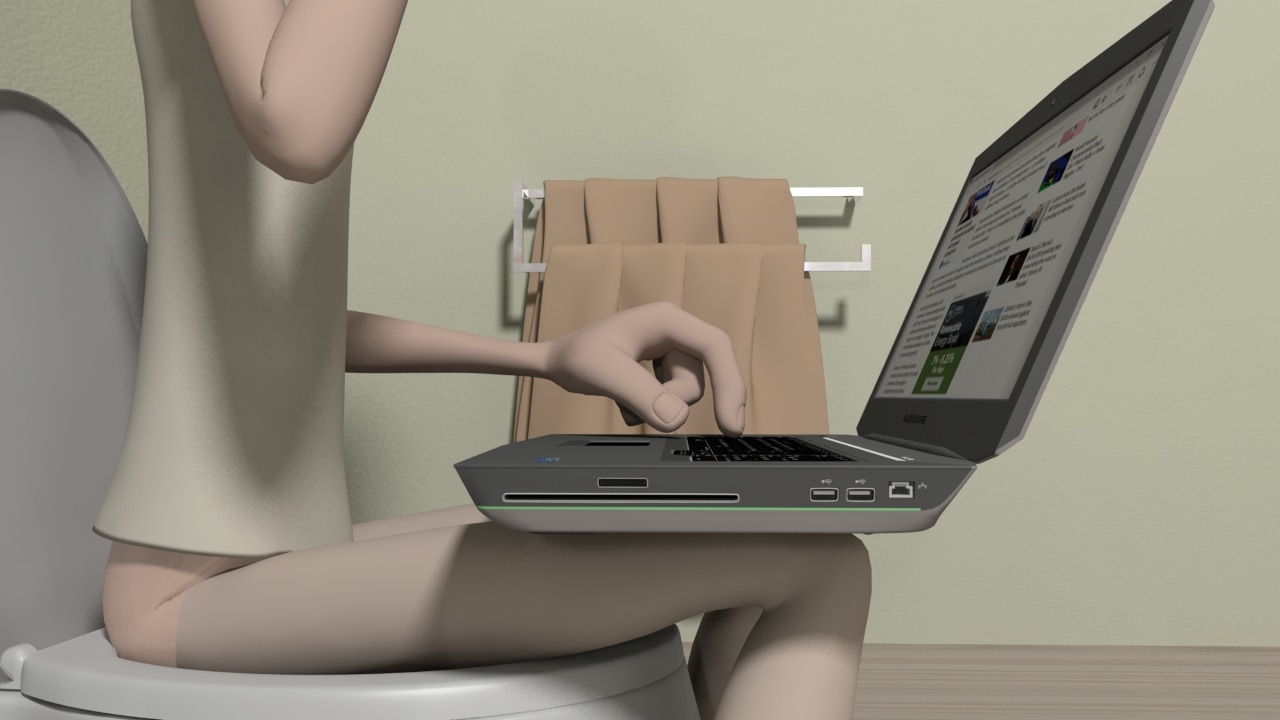
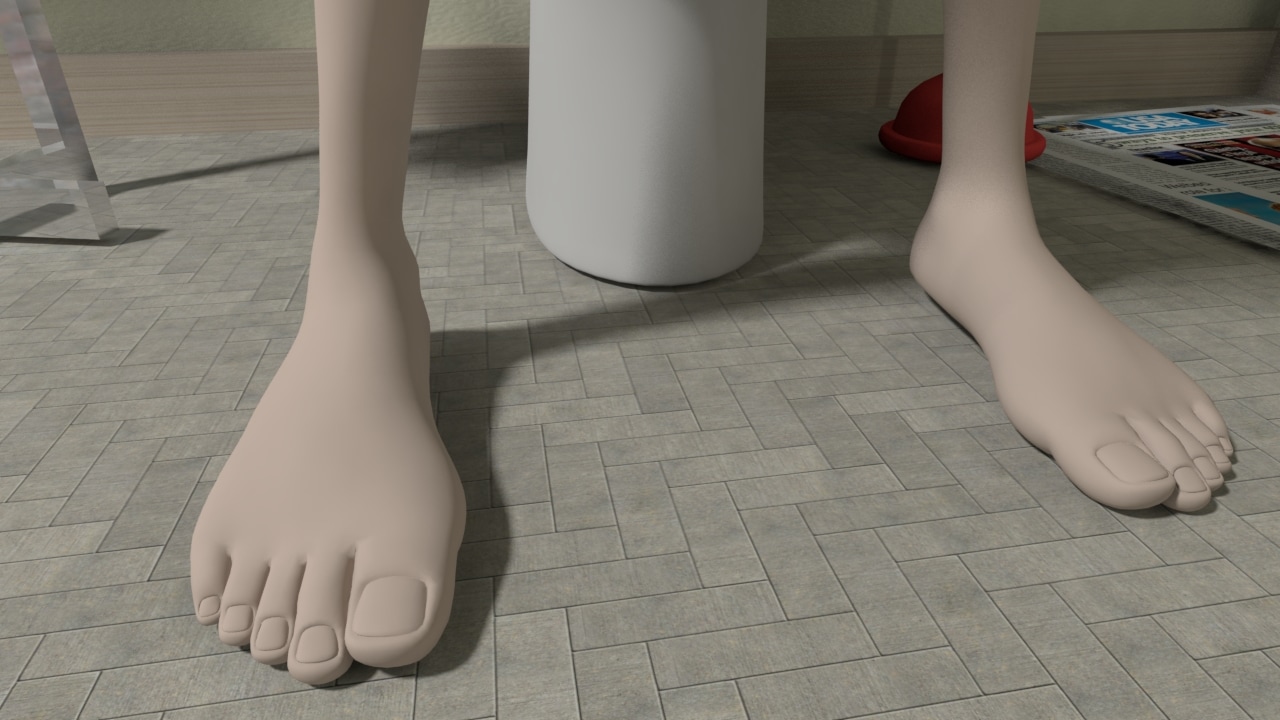
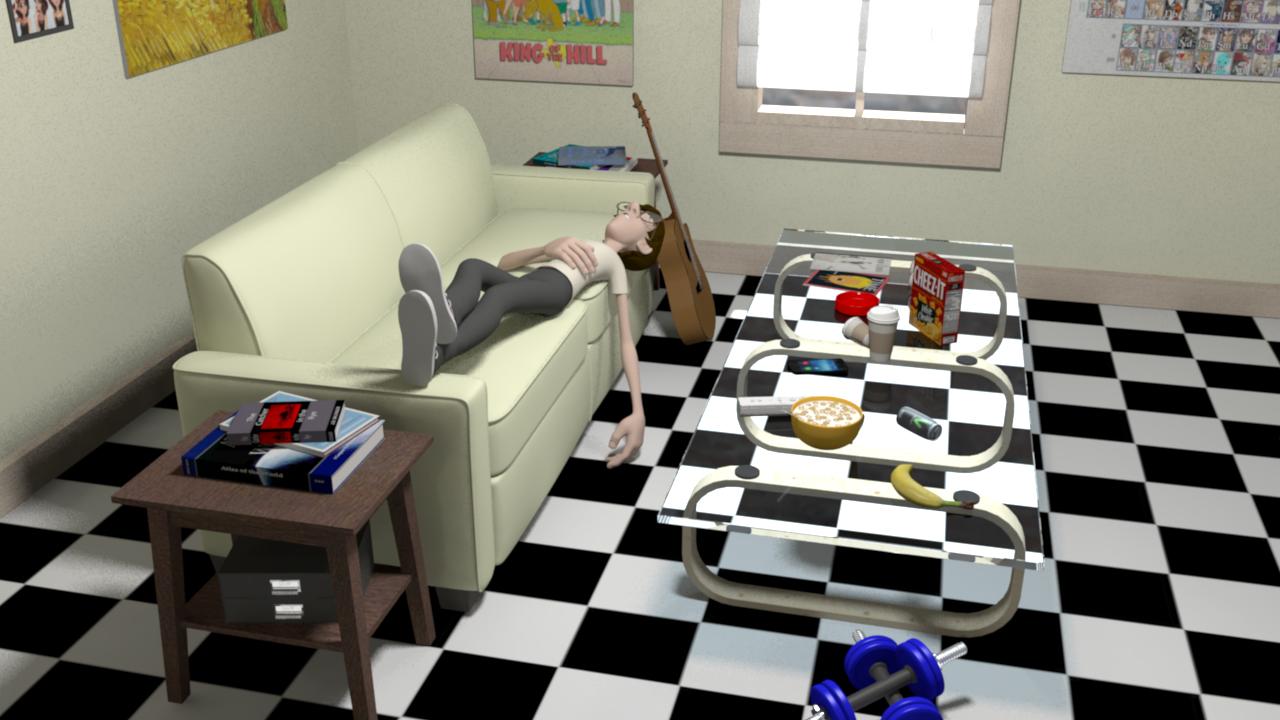
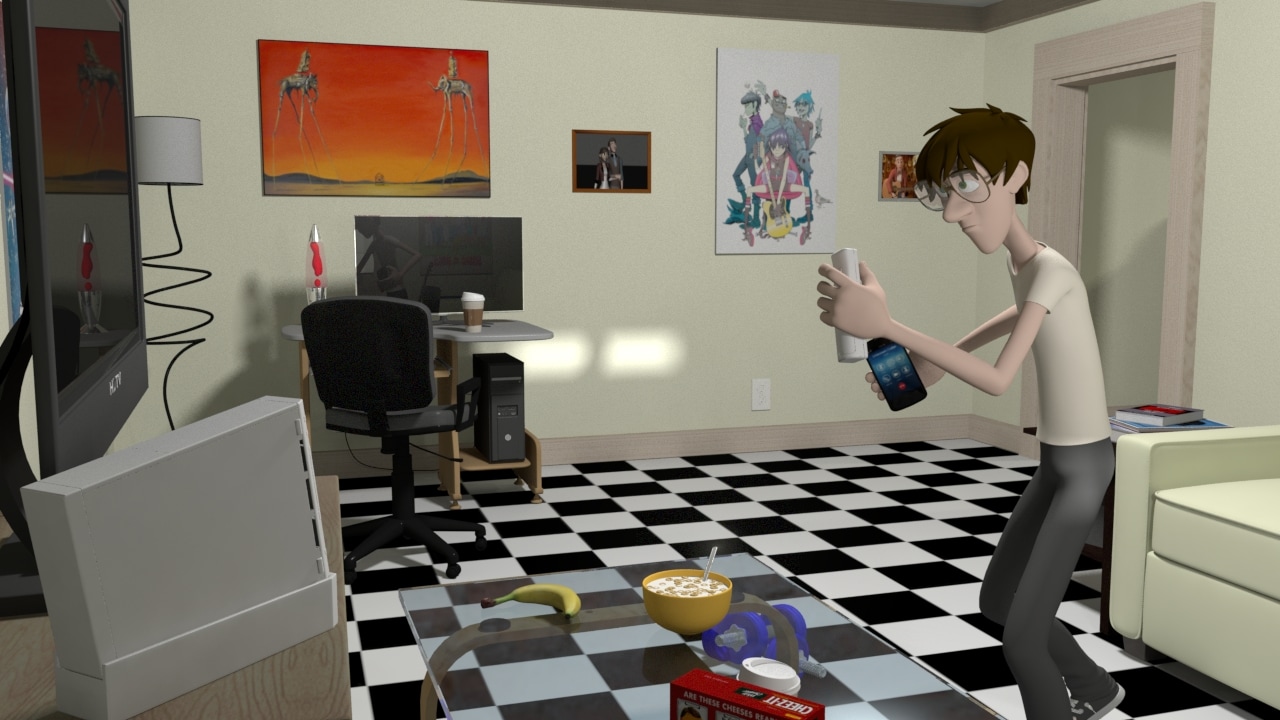
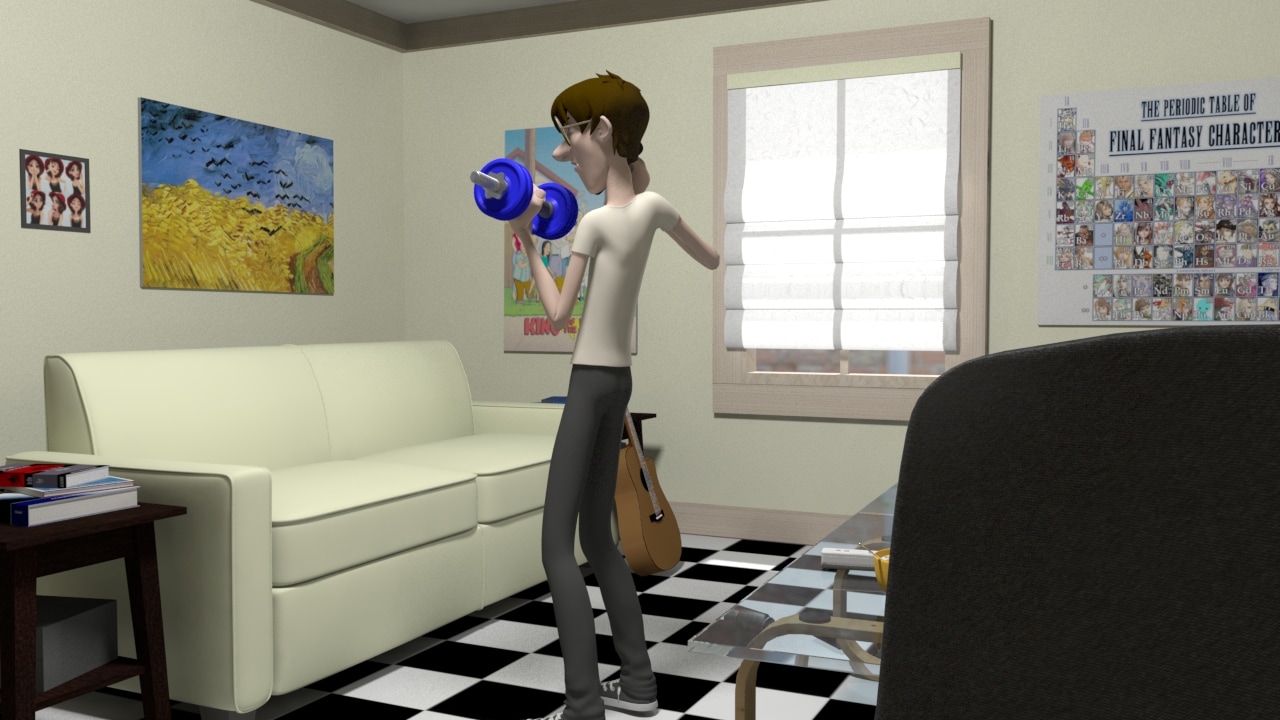
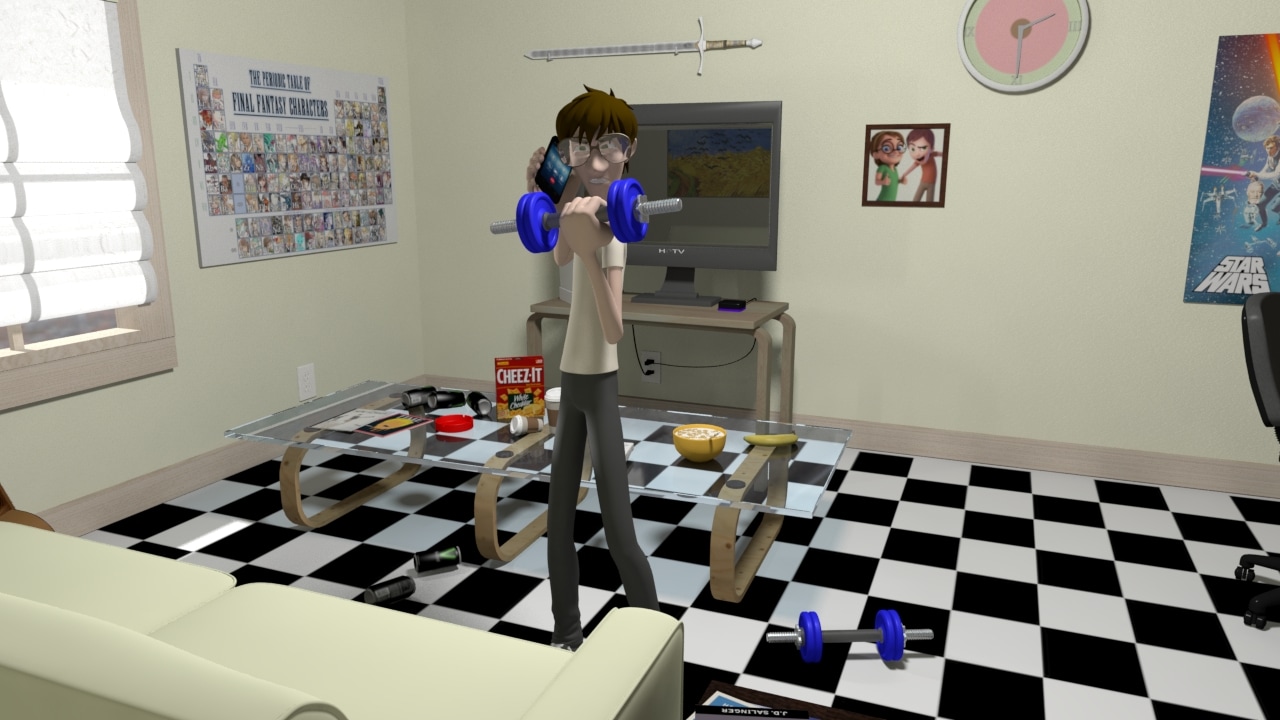
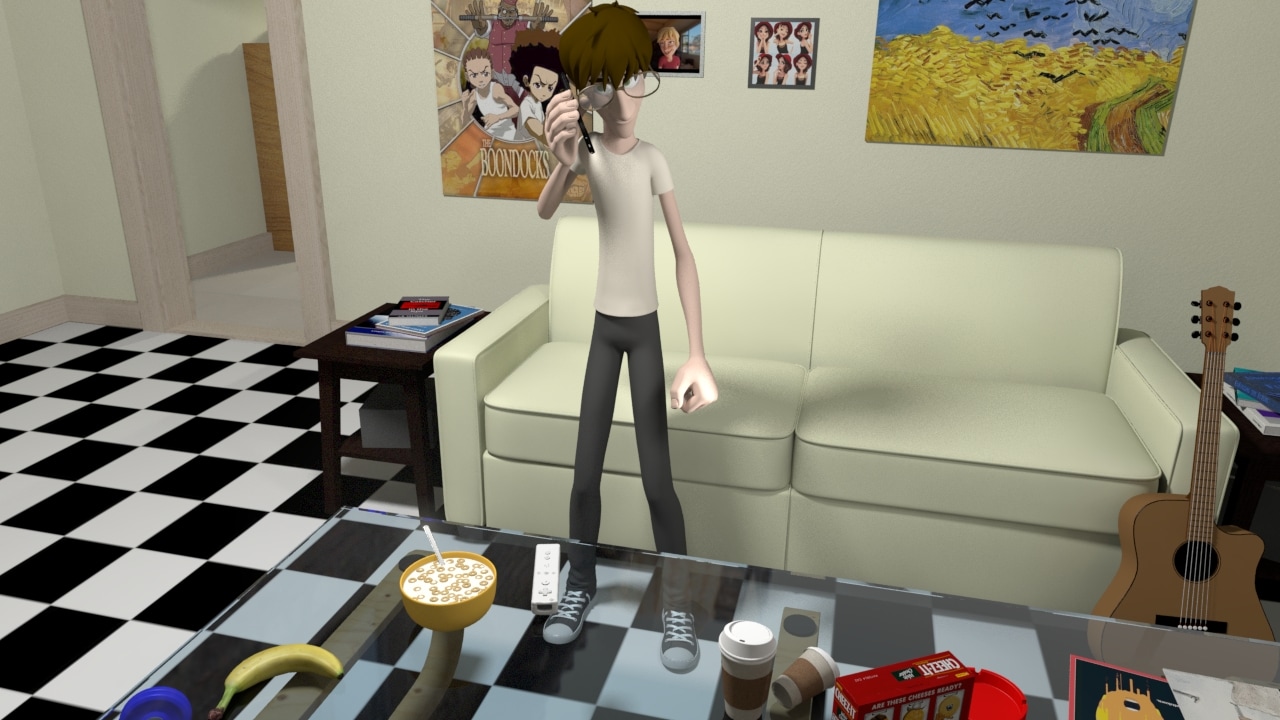
Trying out running cycles- not TOO different from a walk, but for shorter cycles obviously because of the accelerated speed, and the all-important frame where both feet are off of the ground. Taking the same approach as with walking- starting with a Plural Sight tutorial/character, moving on to another character with different controls, and then distancing myself little by little from the tutorial.... This is a skill that I just can't practice enough. Which is actually why I decided to start the workload of my final assignment here. It combines many-if not all- of the animation principles, so the more I drill these ideas into my head by practice the more clearly they will become second nature. With both Wolverine and the Tela character I tried to go off-book as much as I could, meaning I was only using the Plural Sight tutorial for reference here and there, rather than following it step by step. I'm aiming to be completely independent in the next month and as long as I do 2-3 a week I should be able to get there. I'm still working on walking cycles. It's a very layered process and I'm trying to get it down so that I can create them without guides, while still improving and getting faster at it- a ways to go yet, I haven't touched on quadrupeds yet :/ I'm also working on bringing out some personality through the walk, i.e. Wolverine's muscle-bound attitude-laced strut. Moving on to my final project in Computer Animation MA! It's a bit of a continuation of last semester's goal- I'm focusing all of my energy on character animation. There's so much to improve upon and so much more to learn. I starting off with walking cycles. I gotta get mobile! It's a good first challenge. Here are my first two attempts. The lower example was created following a tutorial on Pluralsight. Both are imperfect, but I won't dwell on them just yet. I'm just going to keep at it and I should improve with each new attempt. Well today was the deadline. I was pushing it right to the end, recording voice-overs and re-rendering a few image sequences that needed fixing. Handed it in with 30 mins to spare. This is been a good exercise in character animation, and a worthy challenge overall. Now onto plans for the final project. Can't believe just one more assignment left! Here are some of the final stills from the animation. A lot of the props I found online for free. CGtrader.com and Turbosquid.com were invaluable websites for this purpose. If you'd like to use any of these free 3d models I've included a list with their corresponding links. Enjoy!
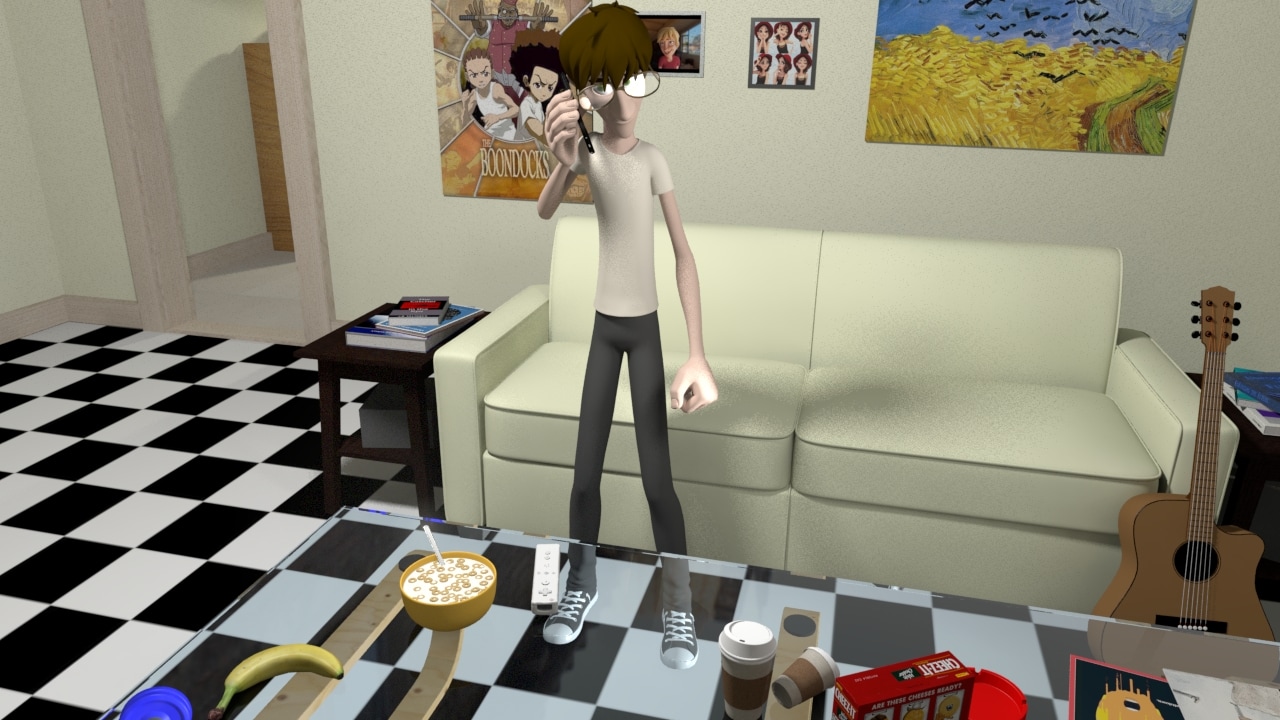
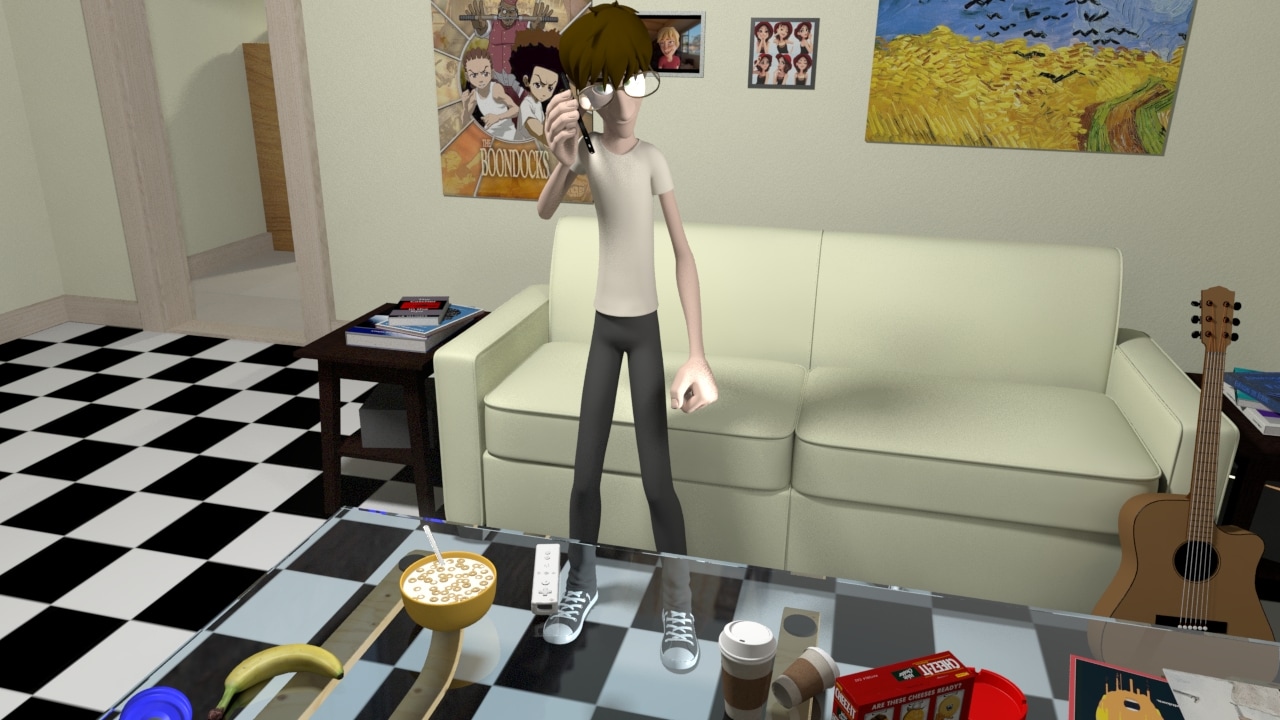
Door Toilet Paper Holder Bathroom Towels and Rack Electric Toothbrush Soap Bottle Plunger Shower Faucet Shower Cabin Laptop Bathroom Sink Toilet: Wii Bowling Video Tea Tin Sword Canvas Boxes Waste Can Beets Can Coca-Cola Can Soda Cans Egg Batteries Wall Socket Floor Lamp Cell Phone Wii Books Banana Lava Lamp Samsung TV HD TV Coffee Table Sofa Fridge: I'm trying to get some of the montage done to close the scene. I don't think it will be done and polished by the deadline, but I definitely have enough done already to fulfill the assignment requirement, so worst case scenario I get the montage roughly done for the deadline, then I return to it later on my own time and refine everything for my animation reel. Disappointed day today. After doing A LOT of rendering and then editing of image sequences I discovered -the hard way- that setting the raytrace shadow rays to 5 and ray depth limit to 2, is just not high enough and I've ended up with noise in the shadow that doesn't look bad in a single frame but is pretty distracting on the video playback. Ugh I spent so much time already testing out these lights in Mental Ray still to come up short in the quality results :( Doing more tests today to see what I can do to improve. Unfortunately I doubt I will be able to re-render all the shots I've done for the MPS deadline, especially since that renders times would be doubled with higher quality settings and the grain will be certainly reduced, but may still be present in the playback even with ray trace setting 4x higher. I have more animating and more rendering to do yet, so I must forge ahead! I'm finding something of a compromise by only increasing the levels of the practical light in the living room, which produces the most noticeable shadow of Malcolm on the couch. (The first image is using 20 shadow rays and a depth limit of 5 with a render time or 4mins 11sec, while the second uses the settings described in the paragraph above with a render time of 1m 58sec. In the last image only raytrace/depth limit is increased (20/5) on the practical living room ceiling light with a render time of 2m 26sec.)
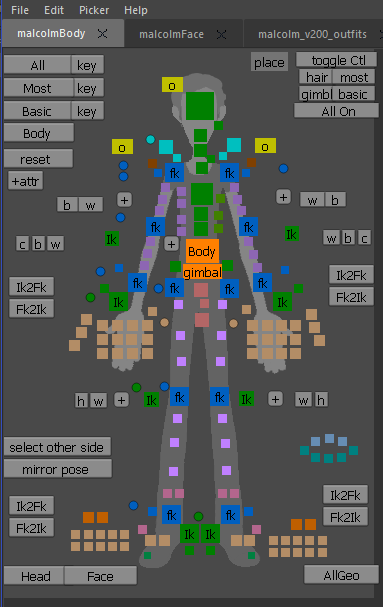
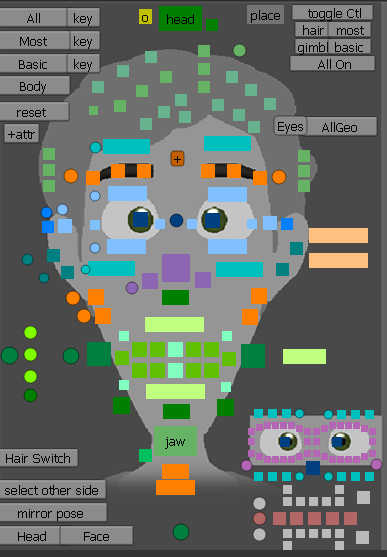
The set ended up being much more time-costly than I would have liked. It takes a lot to make a set like an apartment appear lived-in and so more and more effort went in to providing those details in order to sell it. Probably my biggest blunder in the production of this MSP assignment was splitting the animation up between two scenes. Because of this I was forced to move back and forth between the two scenes every time I made a change to the set in one or the other. Perhaps it's possible to have instead exported the Malcolm character animation into an updated scene at the very end, but I've had trouble with the export feature in the past in regards to preserving constraints, etc. -something I plan on figuring out on my own time for sure, in the meantime, lesson learned. Another major time-consumer was lighting. I really wanted to look at creating a lighting scheme that gave the scene a more natural, cinematic feel than what I've done in the past. Not only did this mean researching what lights and corresponding settings to employ to achieve this look, but also which to use in order to cut down on the rendering time, as that factor is quickly affecting by how complicated -and consequently realistic- your lighting setup is. This was probably one of the hardest things to weigh out: render time vs. quality, especially because of the length of the project and my further ambitions for it. Consequently, I feel both the frame size (HD720) and lighting/shadow attributes will have to be reconsidered for my final showreel, but for this project, I think the focus is really on how much I do with the character animation, so I'm trying to produce as much of my concept as possible before deadline :/ Ultimately both of these consideration was worthwhile, I think, in terms of advancing in Maya. The set and the props demonstrate how such choices can contribute to characterization, and in the world of cinema these qualities are often better shown than told. Not only that but it has been good practice in materials and textures. The lighting I see as the first real stepping stone to a greater understanding of how to achieve a more polished, naturalistic and ultimately cinematic look in my animation production. The Picker ToolOne of my key goals in working with the Malcolm rig was to introduce myself to the picker tool, a visual, comprehensive interface for controlling a character rig quickly and easily. Malcolm's picker options are quite detailed, which gives the animator a lot more freedom of expression when posing the character. This picker tool is of course provided by the fine people at www.Animschool.com The Tween Machine When I was at VFX festival a few months ago, I went a presentation on character animation by an animation director, who shared with us a couple of ways of refining character animation without ever using the graph editor. One method was simply middle clicking on your key in the timeline and moving to a new position on said timeline in order to hold a key. The other means was by employing a plugin called the tween machine, created by Justin Barrett and free at: http://justinsbarrett.com/tweenmachine/, which essentially creates breakdown poses using a percentage of influence from the key before or after the key you wish to create. Saves a lot time when you trying to apply the principles of animation to your character! Create Cluster from Soft Selection Another goal I had for this particular project was to create/animate impressions in the sofa as Malcolm distributed his weight on the cushions. In Maya you can create and animate a cluster of vertices with the deformer option but there's no way to make a soft selection with the feature. Alternatively I could have create a blend shade to animate the indents, but it just didn't seem like the most intuitive way to go about it. This Python plugin, written by Brian Escribano and available free at:
http://www.mediafire.com/file/545fkr217ag549t/ld_createSoftCluster.zip, solved that problem beautifully. |
AuthorRichard Cunningham - IHM Founder Archives
September 2017
Categories |


 RSS Feed